Hotel settings
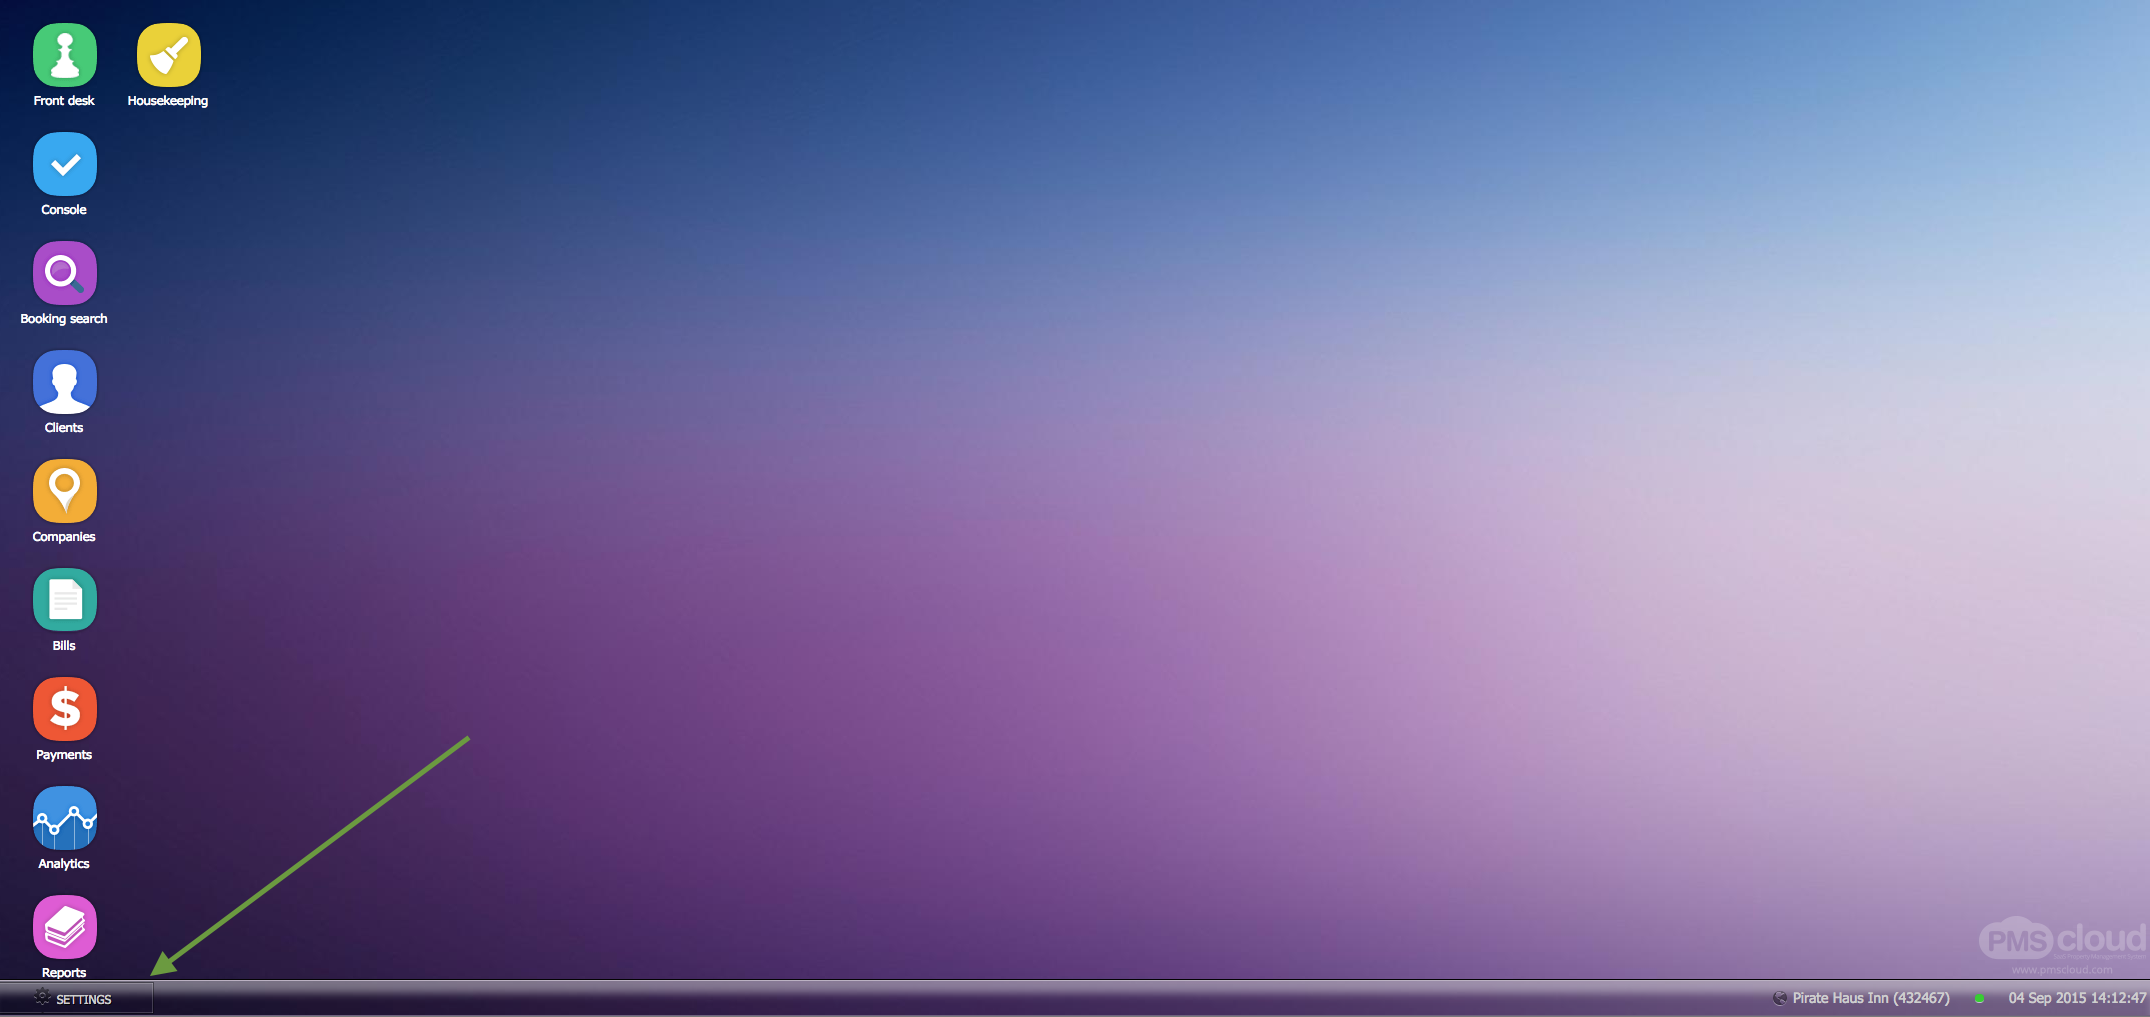
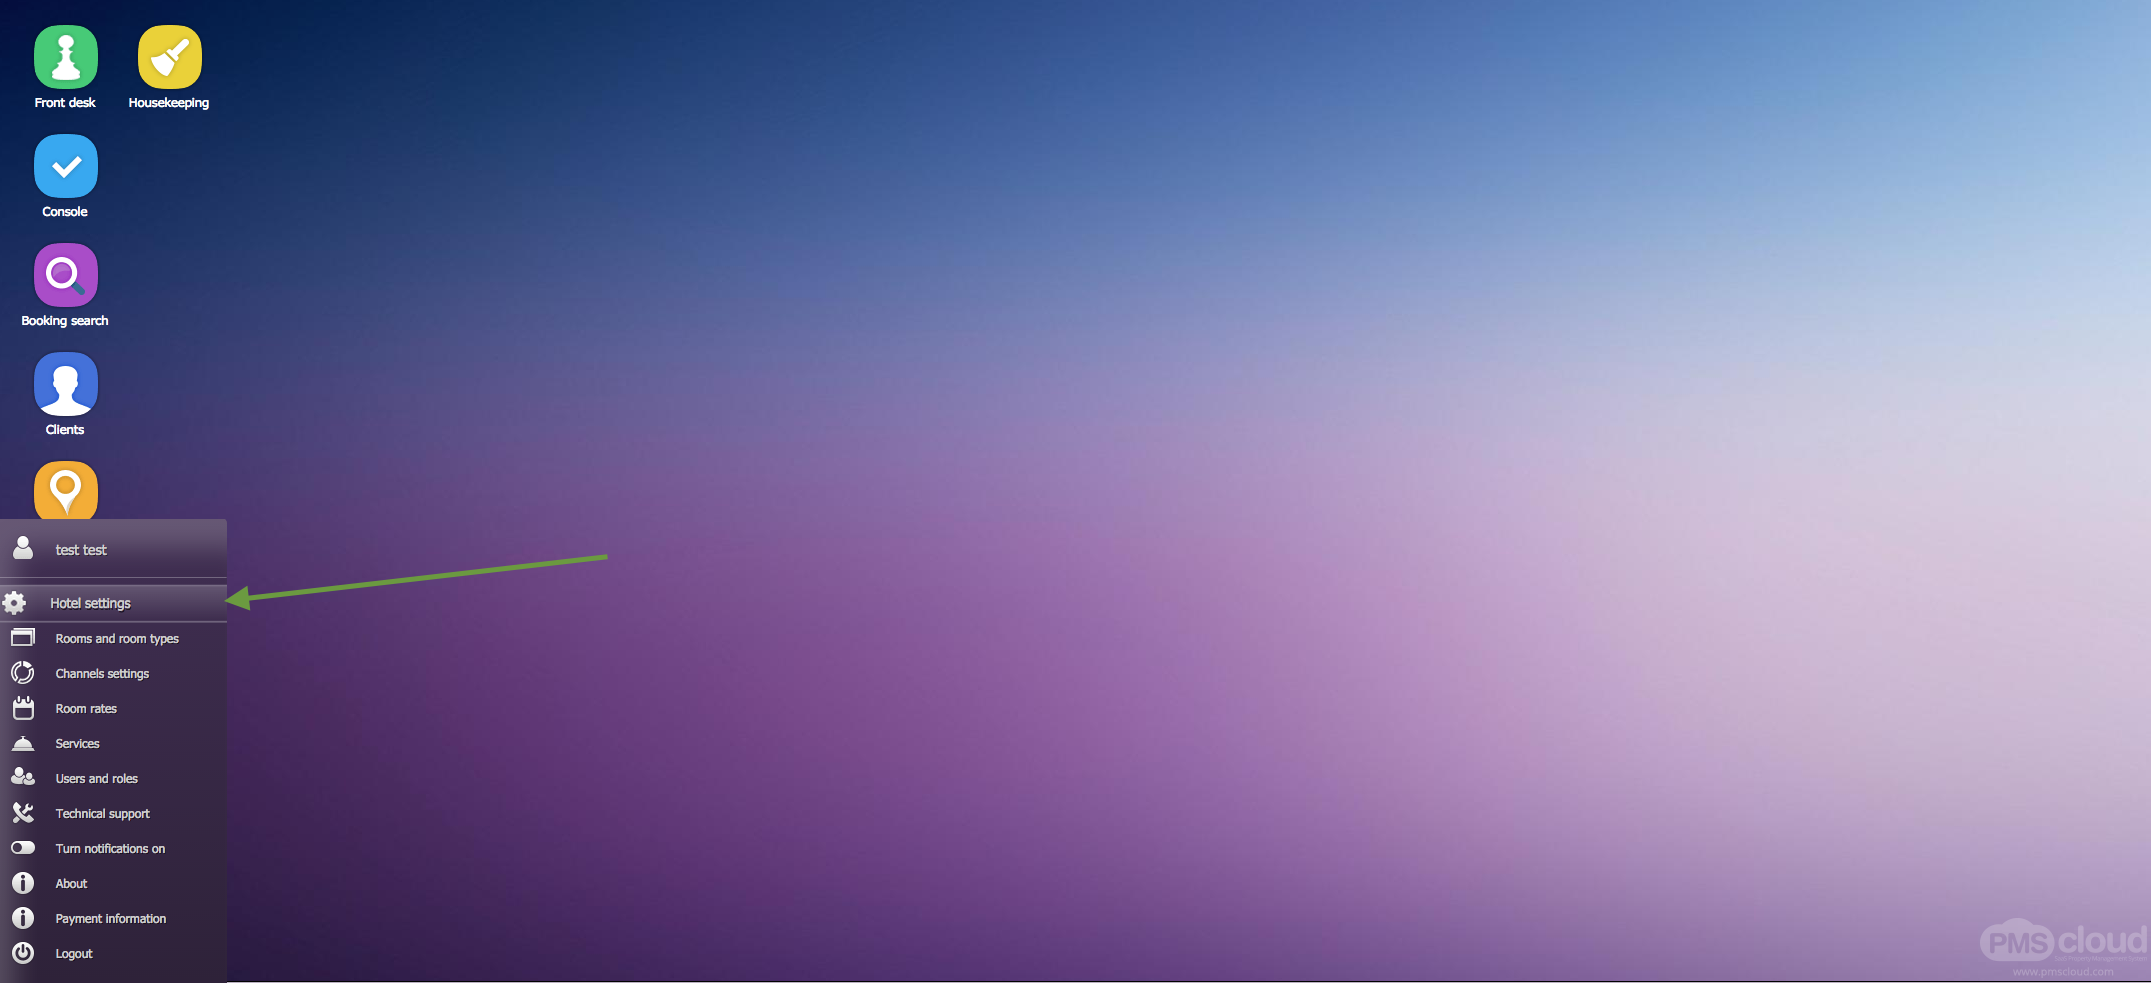
The Hotel settings module allows the administrator to setup the main hotel settings (hotel contacts, taxes, facilities, hotel photos, etc.).
To enter the settings module, select the settings button in the button left corner and choose "Hotel settings" in menu:
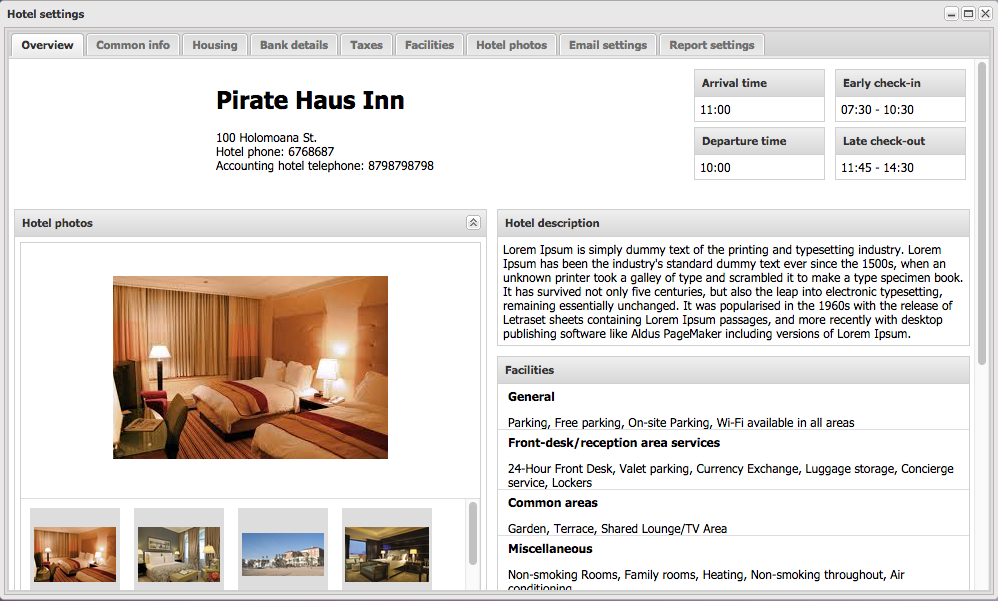
This is the main window of the settings module and provides an overview of all settings:
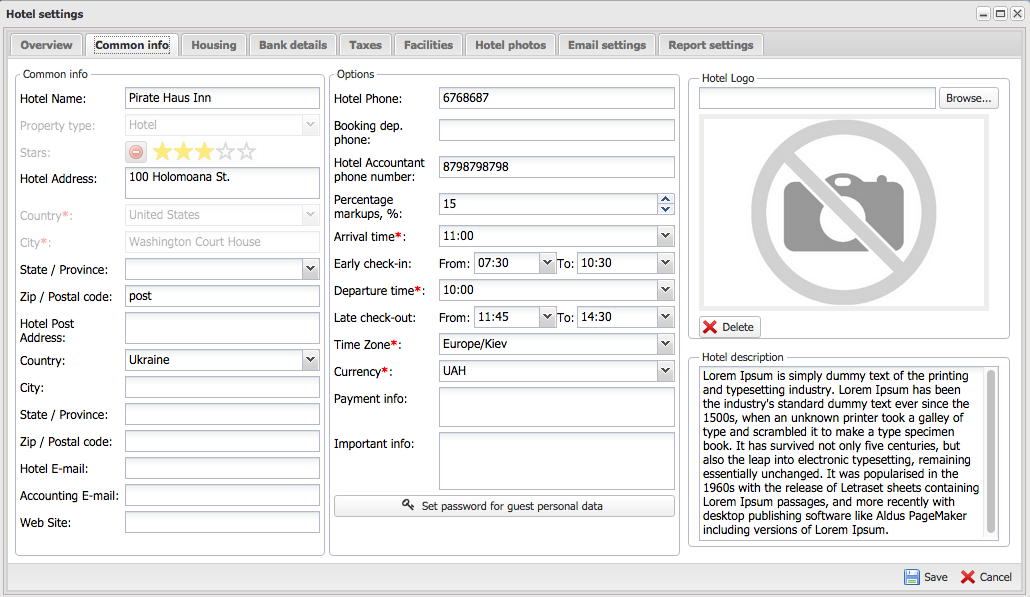
Common info tab
In the common info tab you can save the main hotel settings like contacts, timezone, arrival/departure time, and upload hotel logo (it will be
shown in confirmation mails, reports,etc.). Select "save" to apply changes:
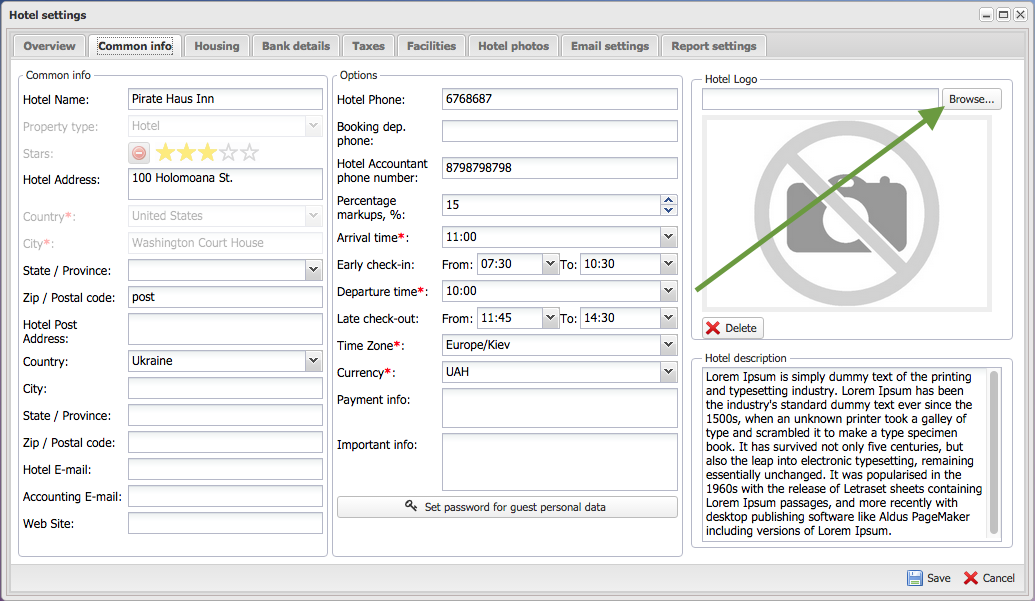
Hotel logo
Your Hotel logo will be shown in confirmation mails, reports,etc. To upload the logo, select "browse" button and choose the logo from your PC.
Then press the "save" button to apply changes.
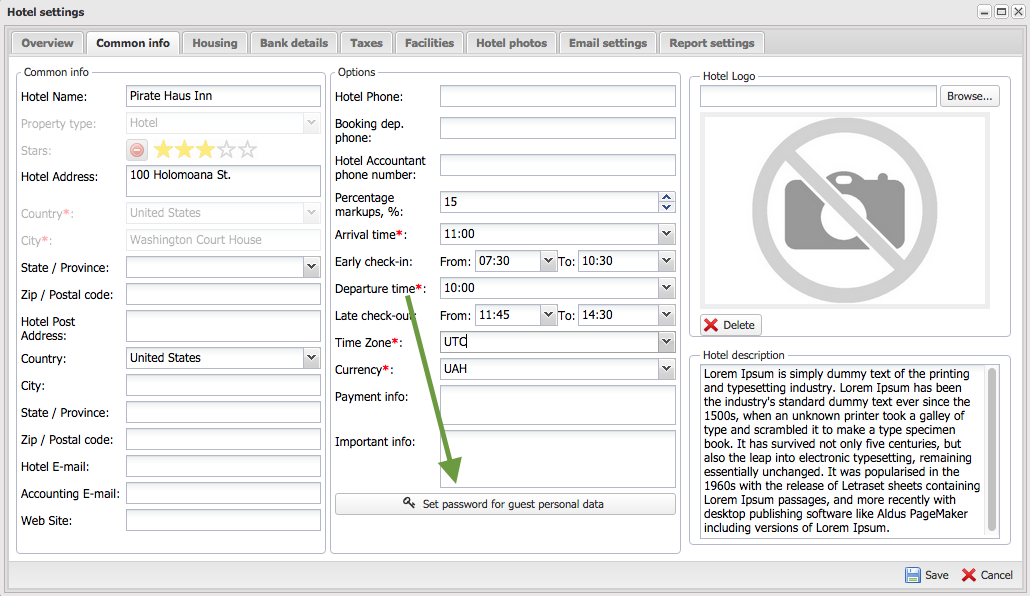
Setting guest personal data password
You're able to save guest's personal data and credit card information in the secure encrypted storage. To set the password, select "Set password for guest personal data" in the common settings tab:
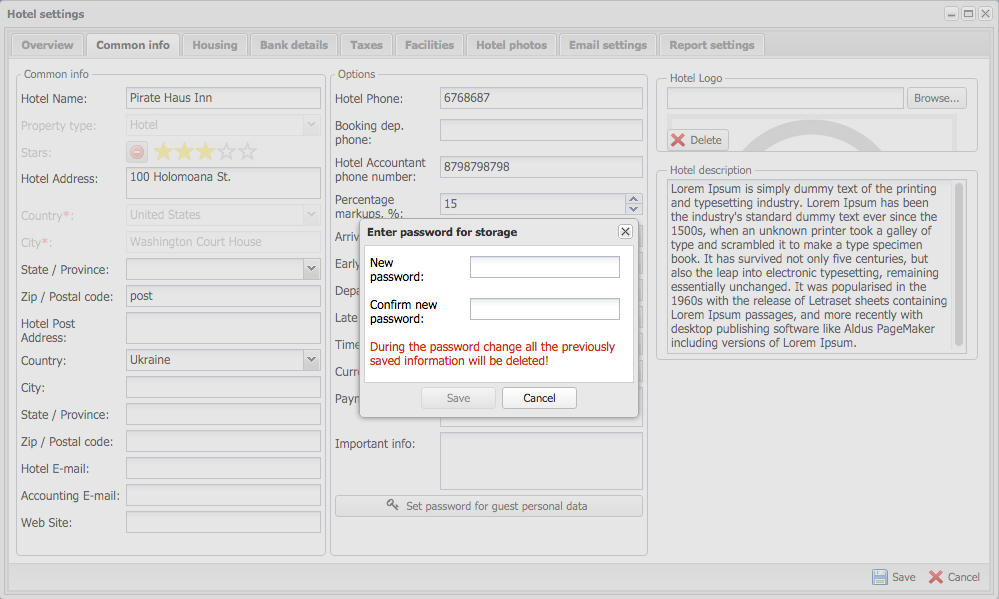
Set password and press "Save". Please note, that you can set a new password but all guest personal data will be erased.
Adding housings
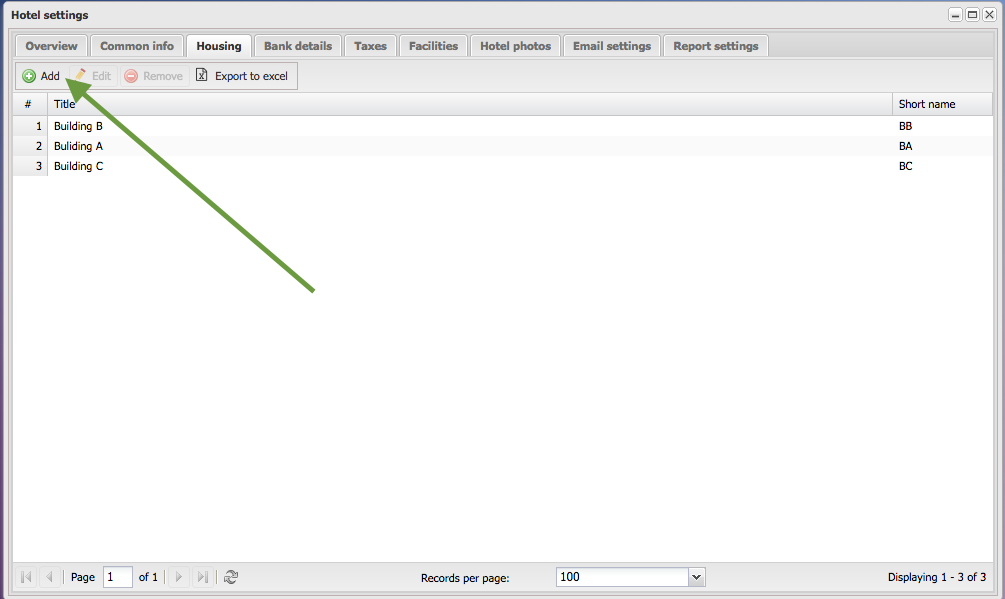
If your rooms are situated in separate buildings, you can add housing names. To add housing, go to the housing tab in hotel settings and press
"Add":
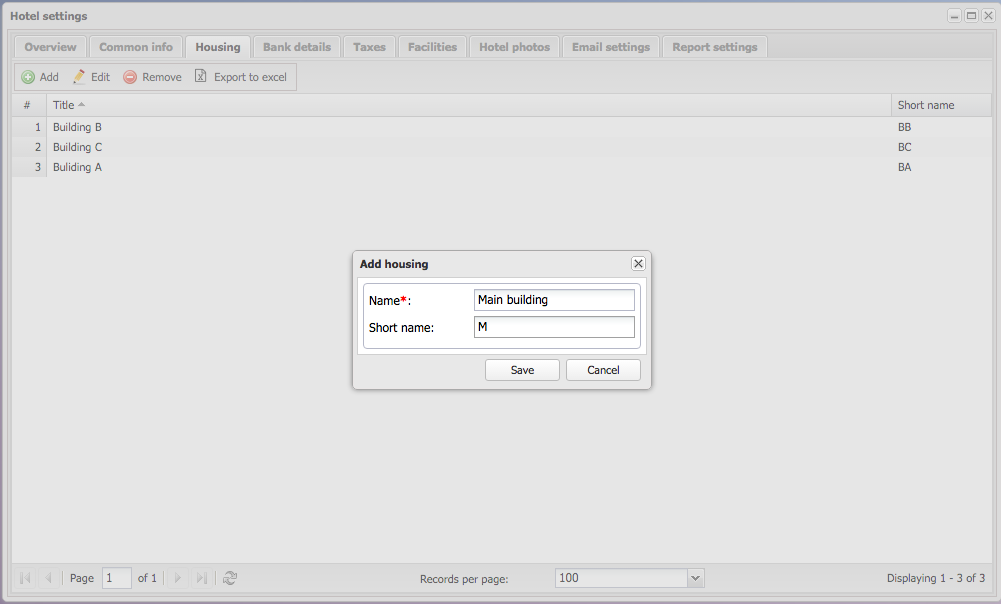
Fill in housing name and shortname and hit "Save":
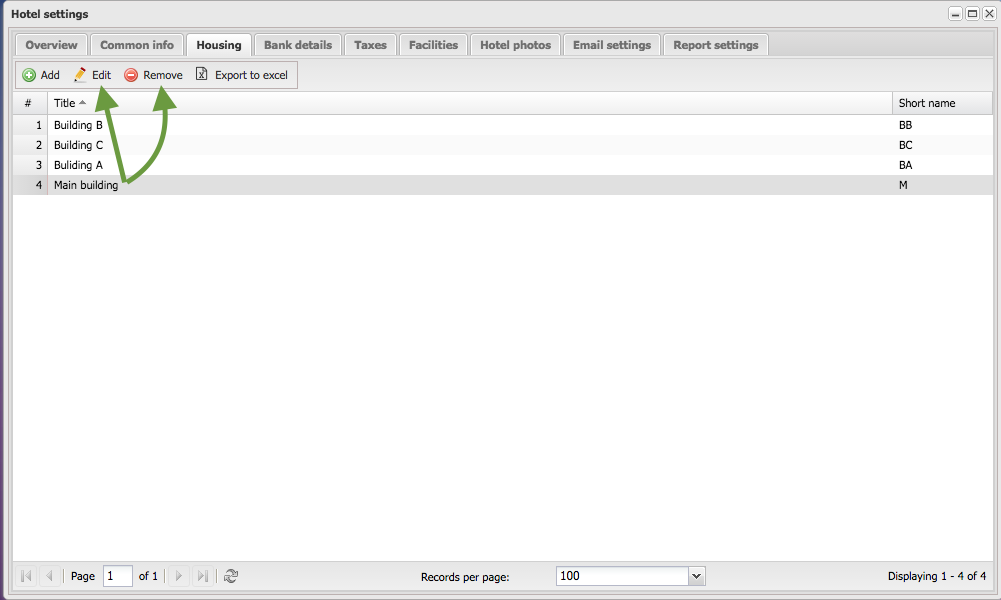
 You can edit or remove existing housing by selecting the needed row and selecting “Edit” or “Remove” in the top bar:
Setting Bank details
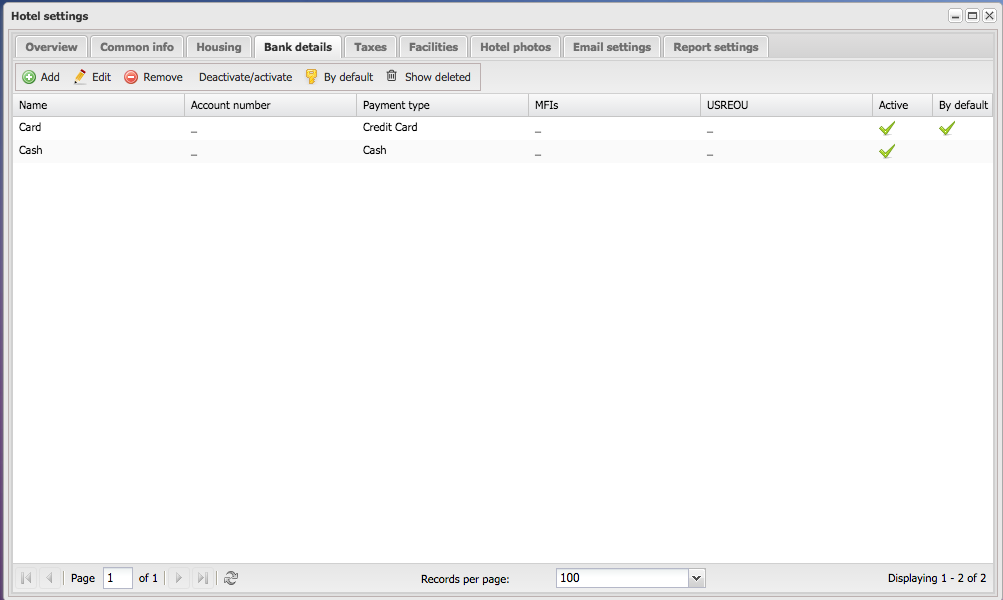
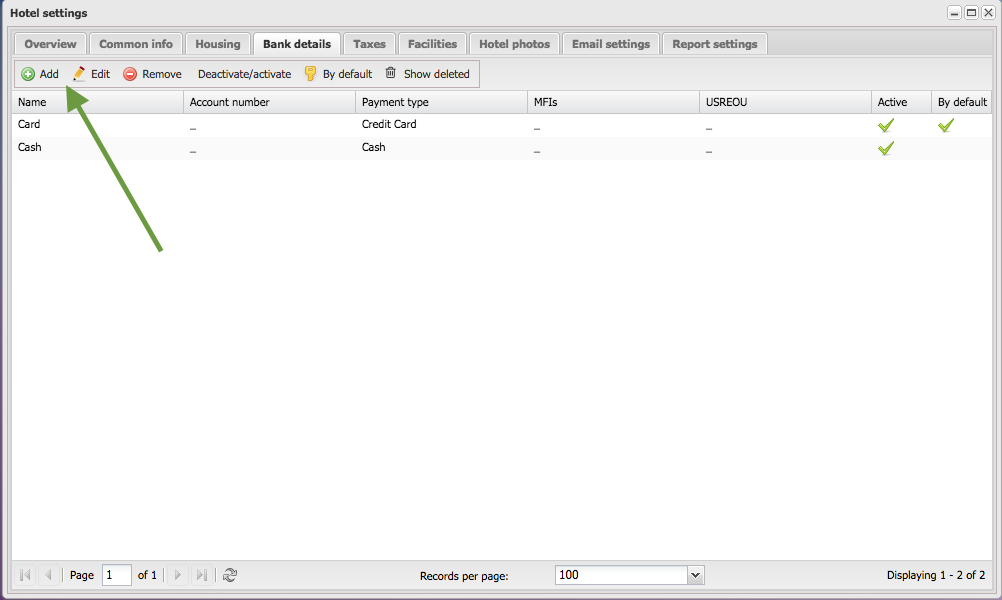
You're able to specify payment types available at your hotel. By default "Cash" is already specified. To add another type, go to the "Bank
Details" tab in hotel settings:
To add new Bank details, select the "Add" button:
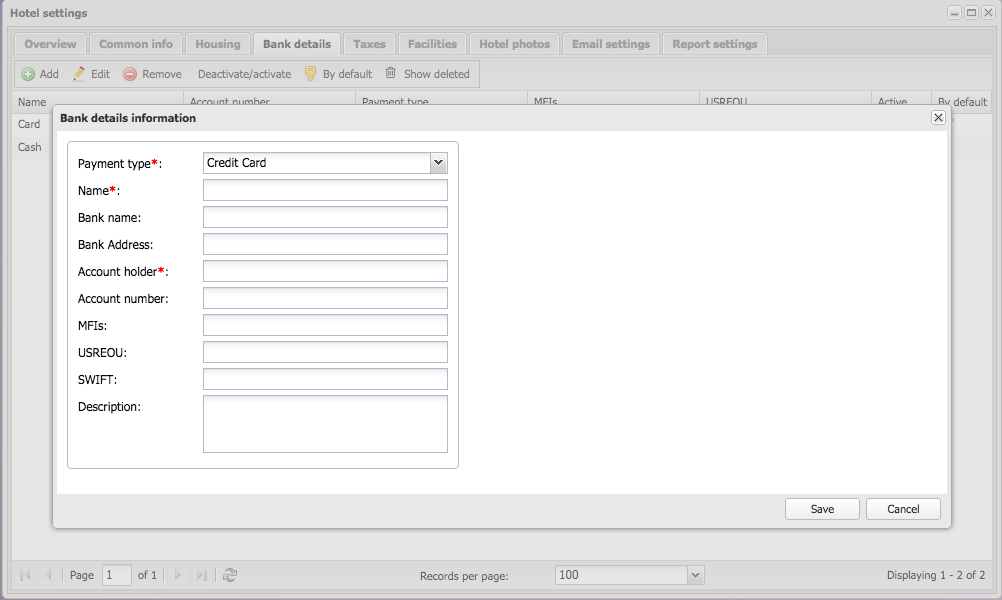
Specify payment type, fill in required fields and then select "Save":
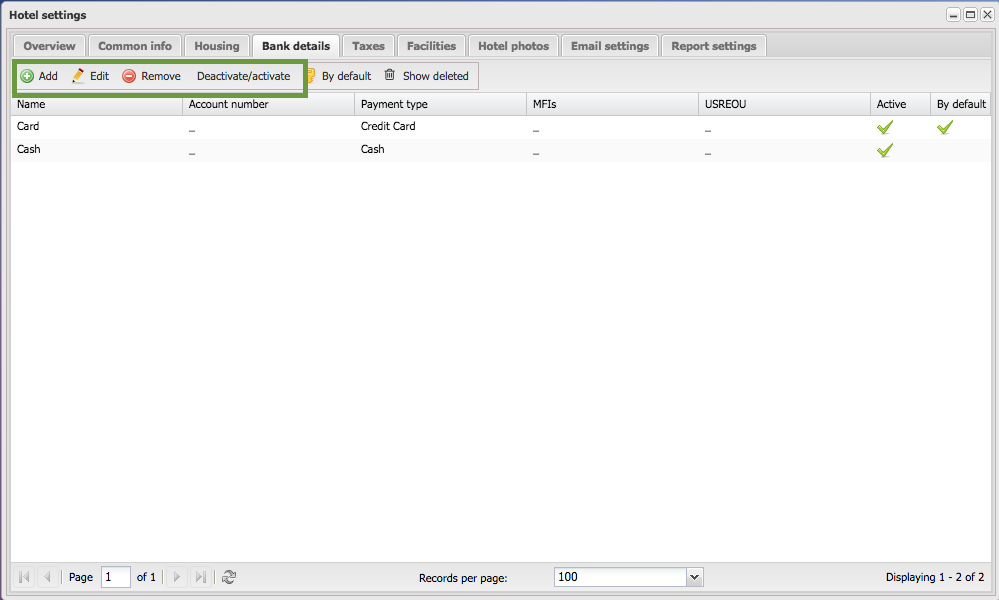
 You can edit, remove or deactivate existing Bank details by selecting the needed row and press on buttons in the top bar:
Setting Taxes
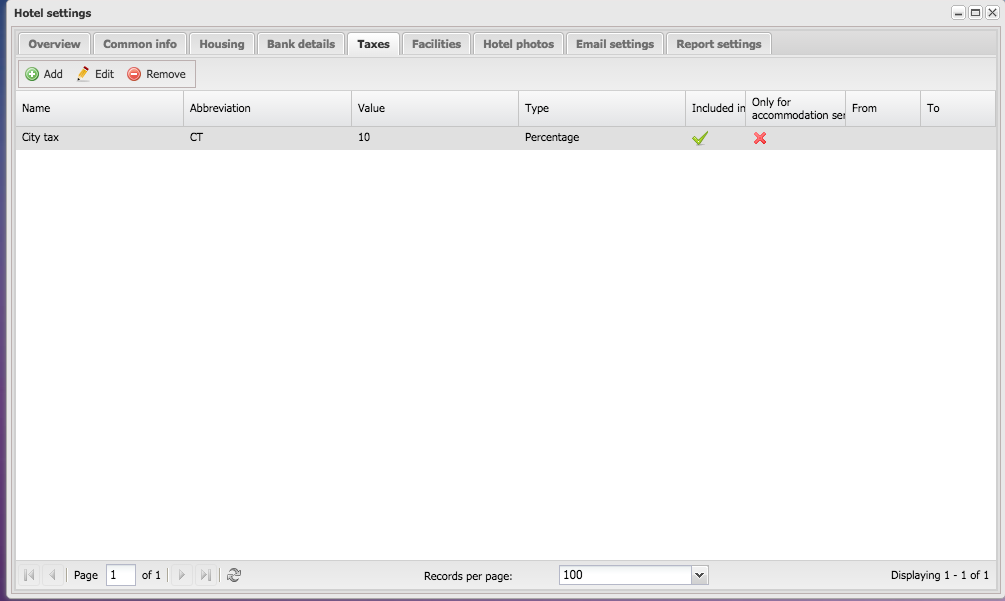
To set applicable taxes go to the "Taxes" tab in hotel settings:
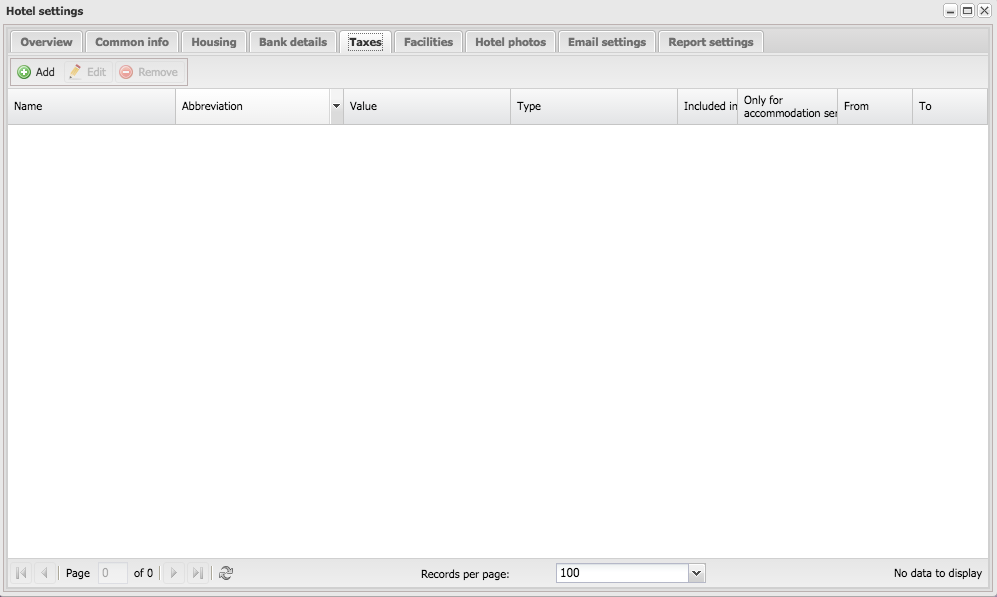
To add a new tax, select the "Add" button:
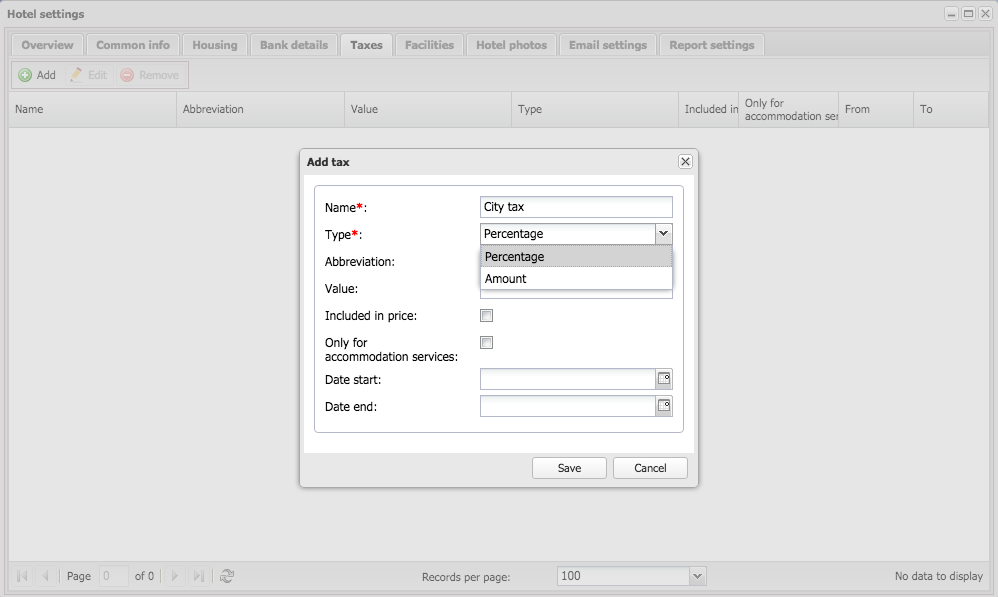
Fill in all fields select "save". Please note, if you do not specify date range it will start on today's date and have no end date.
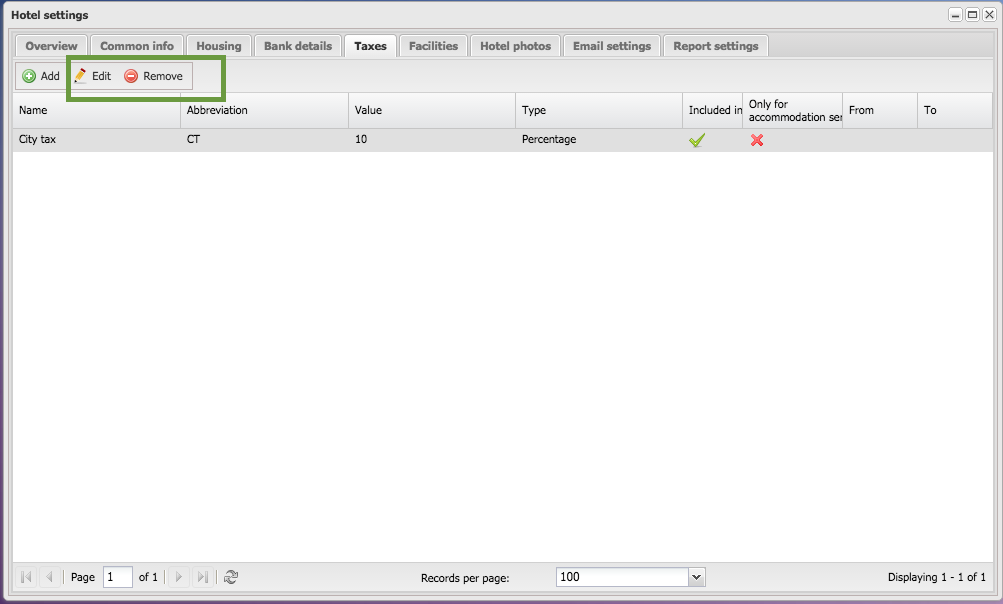
To edit or remove tax, select the row and select the appropriate button on the top bar:
Setting Facilities
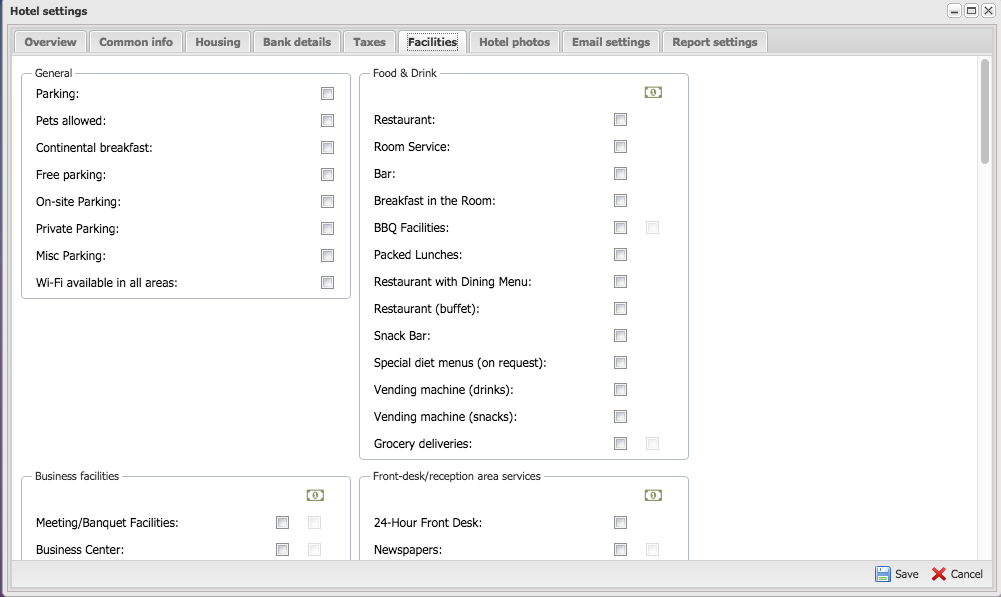
To specify facilities at your hotel, go to the facilities tab in hotel settings. This information will be shown in the Booking Button and
confirmation mails. Select the appropriate checkboxes for standard facilities. Note that the additional checkbox means that service is available for additional cost. Select "save" to apply changes.
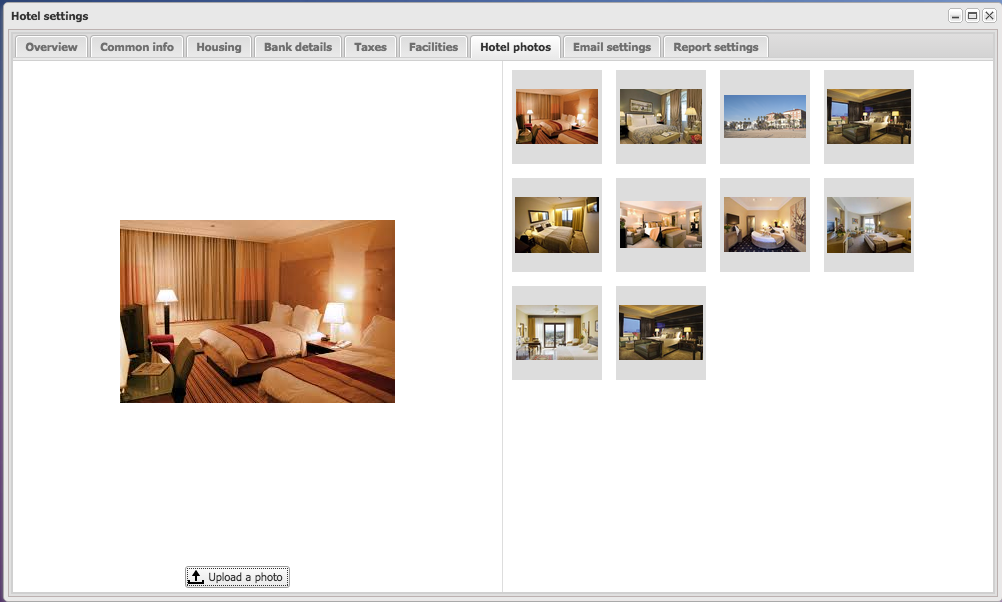
Hotel photos
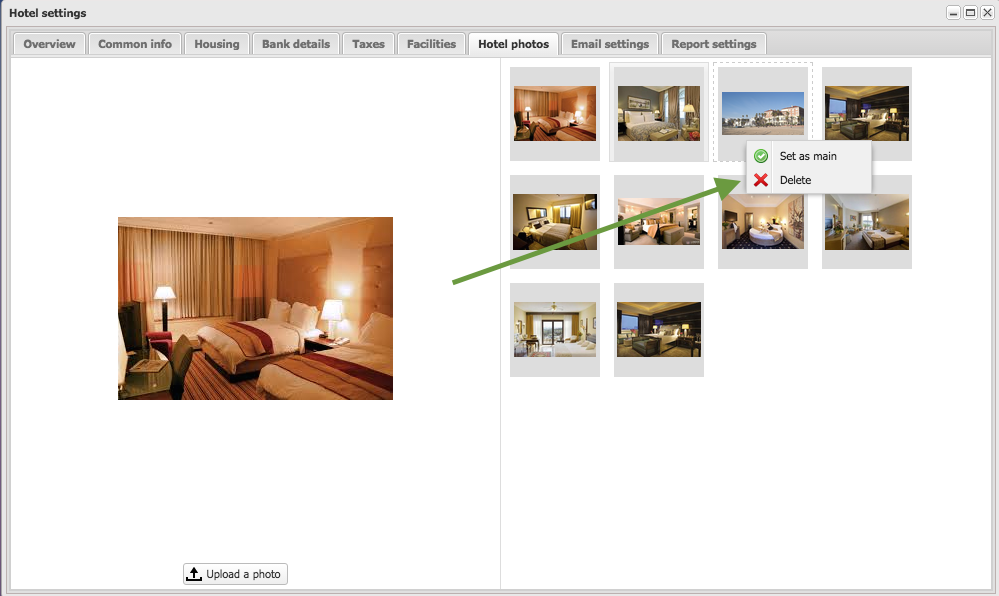
To add hotel photos, go to the "Hotel photos" tab in hotel settings. The photos will be shown in the Booking Button and confirmation mails.
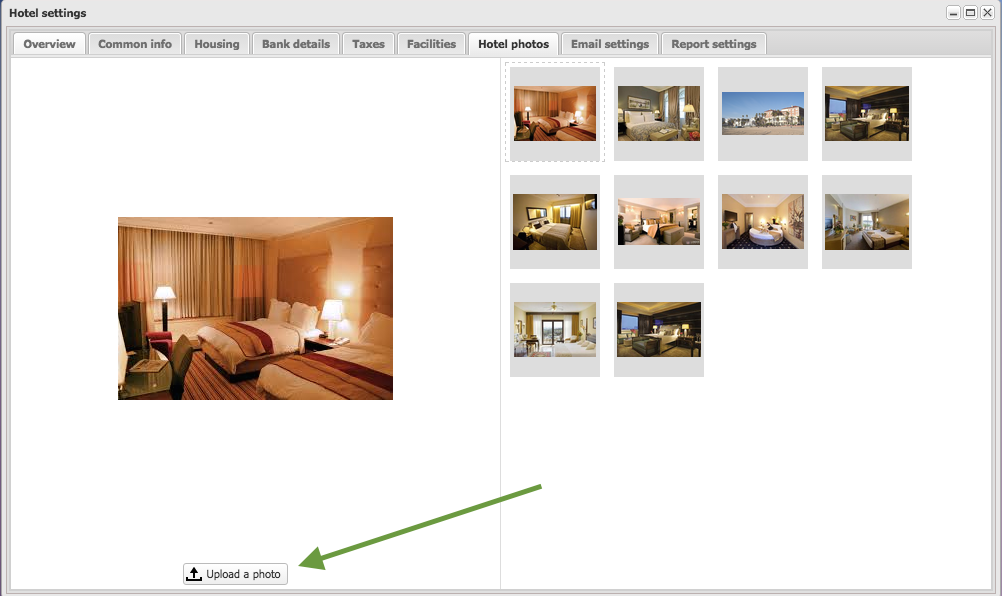
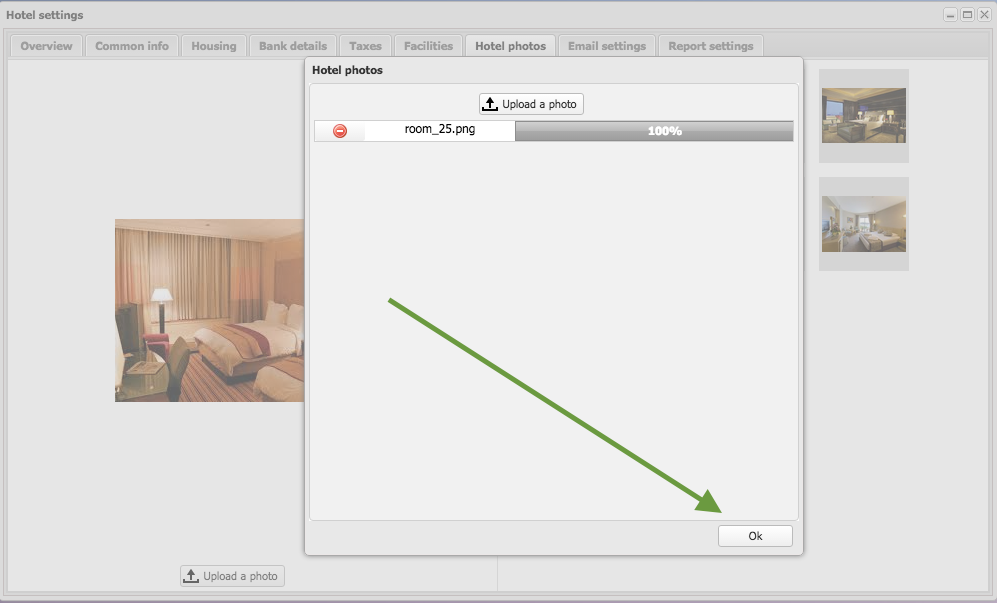
 To upload photos, select “upload a photo” button and select photos. After uploading, press OK to apply changes:
To set the main hotel photo, select the desired photo and right-click on it and select "Set as main":
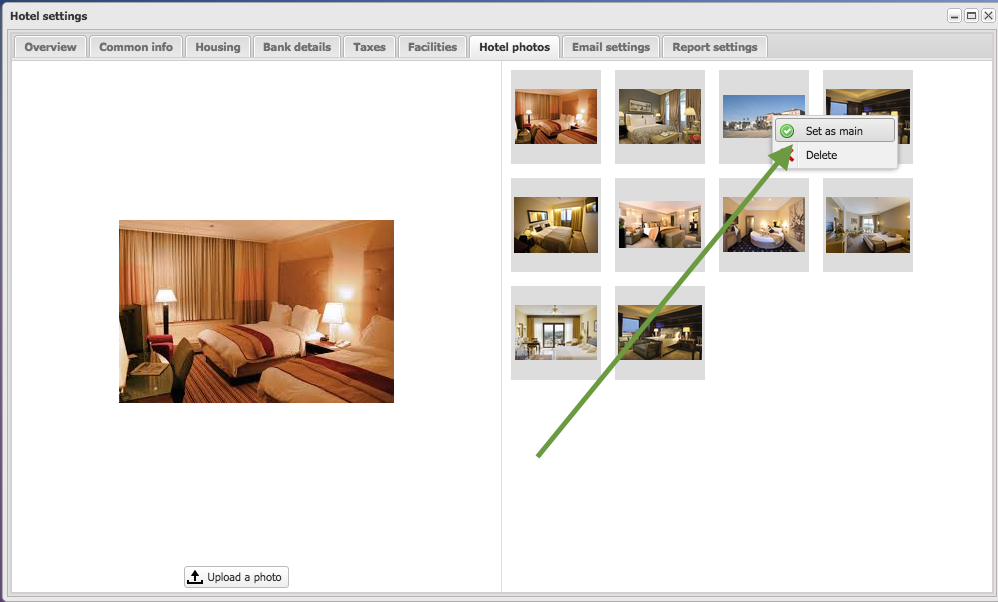
To delete a hotel photo, select the photo and right-click on it and press "Delete":
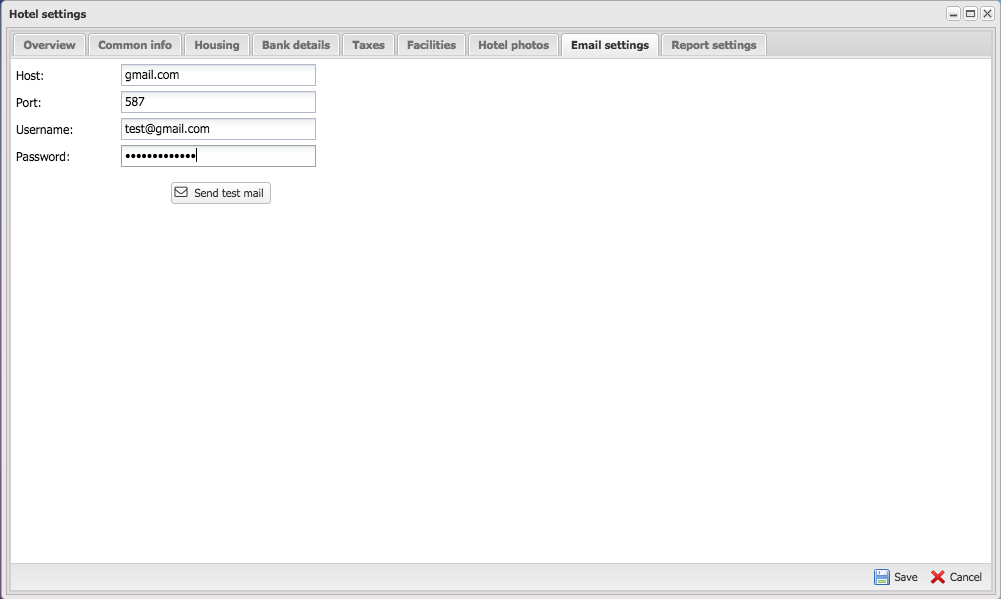
Email settings
You are able to send all mails from your own hotel mail. For sending mails (bills, confirmation mail, etc.) from your hotel email, please
specify email settings (ask your email provider for them). Press on "save" to apply changes and send test email, to test results:
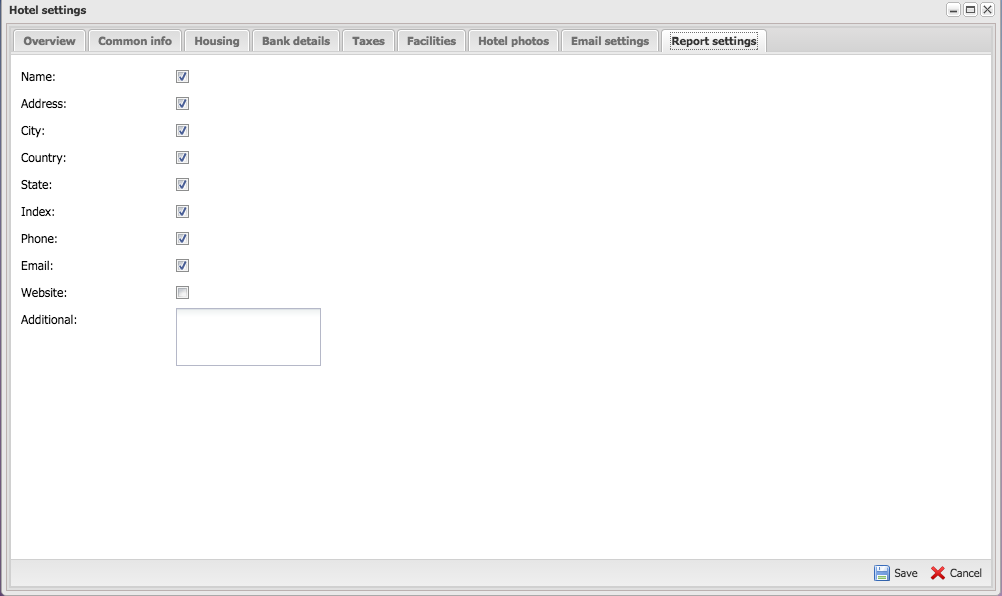
Report header settings
To specify the fields, which will be shown in the reports header, go to the "Report settings" tab, select the desired fields to be displayed and select "Save" to apply results: